

Restoring an image remotely using Macrium Site Manager
Macrium Site Manager enables partitions/disks to be restored easily and rapidly back to their original location. To restore a partition/disk to a different location, e.g. to a new disk or bare metal restore, then the image will need to be restored manually using the Site Manager Agent or rescue media respectively. You can read more about that in this knowledgebase article.
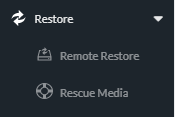
To restore the image remotely, first select the ‘Remote Restore’ page of the Site Manager, which can be found under the ‘Restore’ dropdown menu.
On the ‘Remote Restore’ page, you will see a list of the computers that have been added to the Site Manager. This list will contain both ‘Connected’ and ‘Disconnected’ computers, however, only computers in the ‘Connected’ state can be restored. If the computer that you want to use as the destination is disconnected, it should be reconnected to the Site Manager in order to perform the remote restore. Alternatively, the disconnected computer can be booted using the rescue media and the restore can be performed manually.
Selecting the arrow next to a computer will show you more information about the disk(s) that are connected to the system. Use the checkbox shown next to the computer to select the computer that you would like to restore, then select ‘Next’.

The second page of the remote restore wizard will show you all of the images that have been created of the computer you selected. Each column can be filtered and sorted to make finding a particular image easier. Use the checkbox shown next to the image to select the image that you would like to restore. Once you have selected an image, it will be expanded to show the disk(s) and partition(s) included in the image. If the image contains multiple disks, the disk that you want to restore can be selected here. By default, all partitions will be selected to restore, however, you can deselect any partitions that you do not want to include in the restore.

The next page of the wizard contains additional options for the restore.
Rapid Delta Restore - To provide faster restores, RDR only restores parts of the target disk which are different from the backup image. For Rapid Delta Restore to take place, the destination partition of the restore will need to be formatted with the NTFS file system. You can read more about Rapid Delta Restore in this knowledgebase article.
SSD TRIM - This option optimizes the restore process for Solid State Drives. Writing to an unused block on an SSD is faster than writing to an in-use block. This is due to SSDs not being able to directly ‘overwrite’ programmed blocks, resulting in the block being erased and then reprogramed. When SSD TRIM is enabled, Reflect will flag all unused blocks and then write the data to these unused blocks, instead of erasing and programming in use blocks. This option is ignored when performing a restore to non-SSD destinations, like a HDD.
Verify Image before Restore - When this option is enabled, a full verification of the image takes place before the restore. When the image is first created, as data is read from the source and before it is written to the destination, a hash is created for each block of data and stored in the image’s index. When verification of the image takes place, a new hash is generated and compared to the hash that is stored in the index. This ensures the integrity of the image, if any corruption is found, the image restore is aborted. The image is considered to be corrupted when the newly generated hash does not match the hash that is stored in the index. This indicates that the data has changed since it was read from the source disk.
Network Share Authentication - This radio button enables you to specify authentication details for the target computer to use to access the network share where the image is located. This section will be prepopulated with the credentials that are specified in the ‘Authentication’ section of the repository on the ‘Repository’ page of the Site Manager.
Client Notification - When this option is enabled, a notification will be displayed on the target computer prior to the restore starting. The contents of this notification can be edited to display a custom message. An option to allow the user to cancel the backup during the notification period can also be enabled.
The final page of the wizard contains a summary of the restore that will take place. Once you are happy with the settings that you have specified, select ‘Start Restore’.
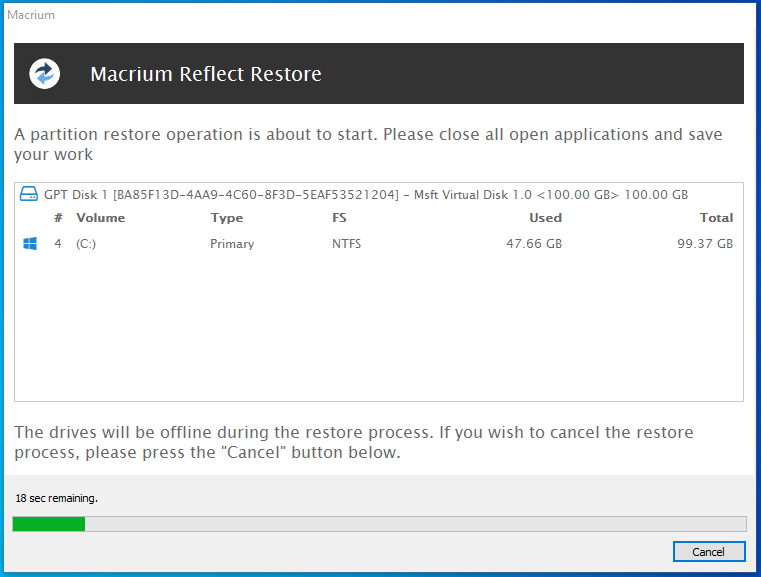
On the target computer a notification may be displayed, depending on the options that have been specified, warning the user that a restore is about to take place and that the partitions shown in the notification will not be accessible during the restore.
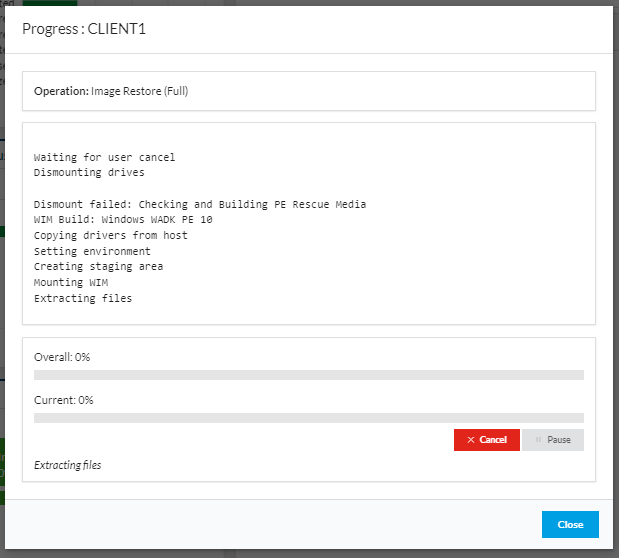
To perform the restore, Macrium Reflect requires the target partition to be ‘locked’. If the partition cannot be locked, the he SM Agent will generate a Rescue environment and reboot the computer into it to complete the restore. Once restore is complete the computer will be rebooted into the newly restored environment. This will boot the computer into a rescue environment based on the Windows Preinstallation Environment (WinPE) or the Windows Recovery Environment (WinRE). The version of WinPE that is used will depend on the operating system of the computer that is being restored. Using the relevant WinPE version that is associated with the Windows operating system ensures compatibility between the drivers copied from the computer’s operating system and the WinPE rescue environment. This ensures that the computer’s hardware will function correctly in the WinPE rescue environment. The WinPE version for each operating system is shown below:
| Operation System on target computer | Architecture of the target computer | Rescue Media version |
|---|---|---|
| Windows 8, | ||
| Windows 8.1, | ||
| Windows 10, | ||
| Windows 11, | ||
| Windows Server 2012, | ||
| Windows Server 2012 R2, | ||
| Windows Server 2016, | ||
| Windows Server 2019, | ||
| Windows Server 2022 | x64 | PE10x64 |
| Windows 8, | ||
| Windows 8.1, | ||
| Windows 10 | x86 | PE10x86 |
| Windows XP, | ||
| Windows Vista, | ||
| Windows 7, | ||
| Windows Server 2003, | ||
| Windows Server 2008, | ||
| Windows Server 2008 R2 | x64 | PE3x64 |
| Windows XP, | ||
| Windows Vista, | ||
| Windows 7, | ||
| Windows Server 2003, | ||
| Windows Server 2008 | x86 | PE3x86 |
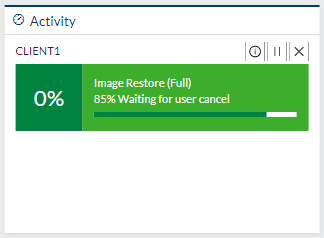
The progress of the restore can either be monitored on the target computer, or using the ‘Activity’ widget on the Site Manager ‘Dashboard’.
Selecting the ‘i’ will display a more detailed view of the restore progress.
Once the restore has been completed, the computer will reboot back into Windows and automatically reconnect to the Site Manager using the Site Manager connection details that are saved in the registry of the Agent computer.
Two logs will have been created by the restore, the first log will show the boot menu being created prior to the computer restarting; the second log will detail the restore that took place using the rescue environment. The restore logs can be viewed in the ‘Logs’ section of the Site Manager, this will provide more detailed information about the restore.
Blog posts in this series
Adding a computer and installing an Agent remotely
Installing the Agent manually then adding that computer to Site Manager
Definitions - What are they
Schedules - What are they
Repositories - What are they
Scheduling Backups with Macrium Site Manager
Browsing a repository and recovering a file
Restoring an image remotely using Macrium Site Manager

Macrium MultiSite and Security
Cloning a disk with Macrium Reflect 8

